
Hi friends,
This week was a fun one—we finally started building our backyard setup and broke ground on the pool. It’s been in the works for a while, and the goal is to have a functional outdoor space so we can hang outside more. We’re definitely an outdoorsy family, so this feels like a good next step for us.
In between all of that, I still got my usual Sunday meal prep done. Many of you asked for more kid-friendly recipes, so this week everything I made is something my kids will actually eat without a fight—which is honestly a win in itself.
But first here are a few of my favorite outfits I wore this week and a pretty pic after a summer thunderstorm💕


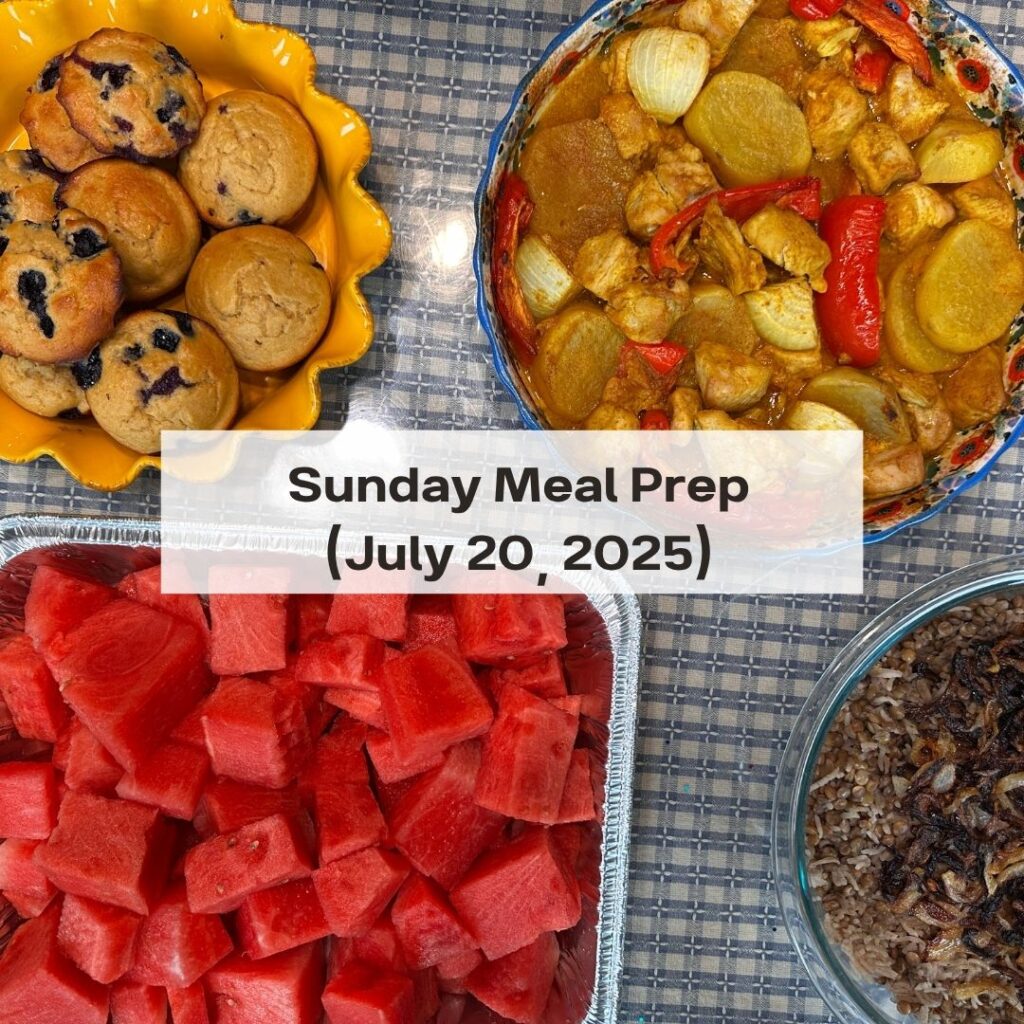
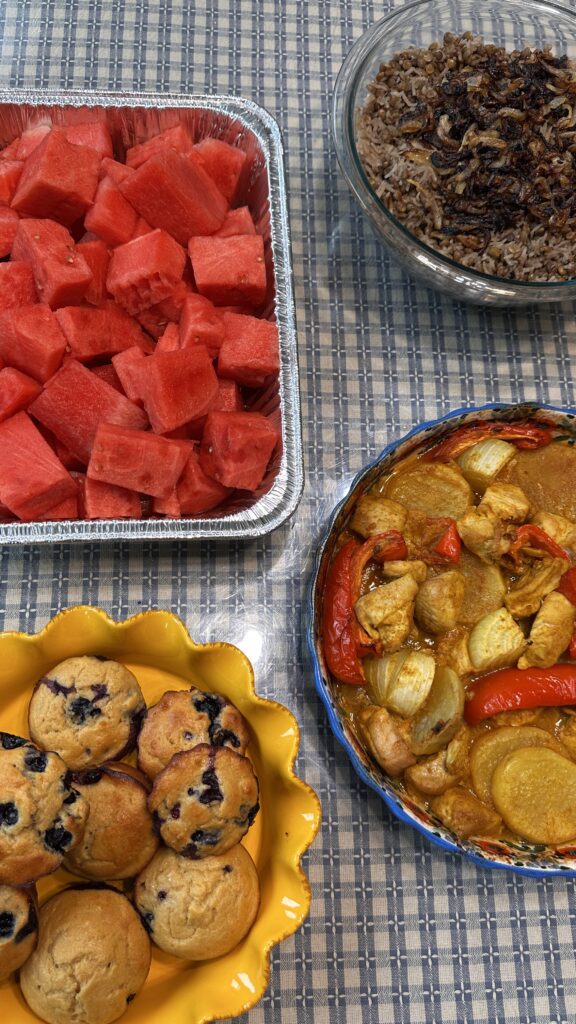
Okay, so here’s what’s on the menu for this week:
- Blueberry lemon muffins for easy breakfasts
- A one-pan lemon chicken with veggies for lunch or dinner
- Rice and lentils—simple, filling, high fiber
- Spaghetti al pomodoro, always a hit and makes great leftovers
- And I cut up watermelon ahead of time so it’s ready to go for snacks
Let’s get into it.
Kitchen Tools/ Equipment/ Containers I used:
- Muffin Tin (I found mine at HomeGoods, but here is a similar one. However, I recommend you use a 12-cup nonstick muffin tray)
- Measuring cups
- Mixing Bowl
- Lemon Juicer from World Market (this is old – could not find link)
- Chef Knife
- Mortar and pestle (similar)
- Beige pan for onion (in the color steam)
- Beige pot for lentil recipe (in the color steam)
- Large blue pan
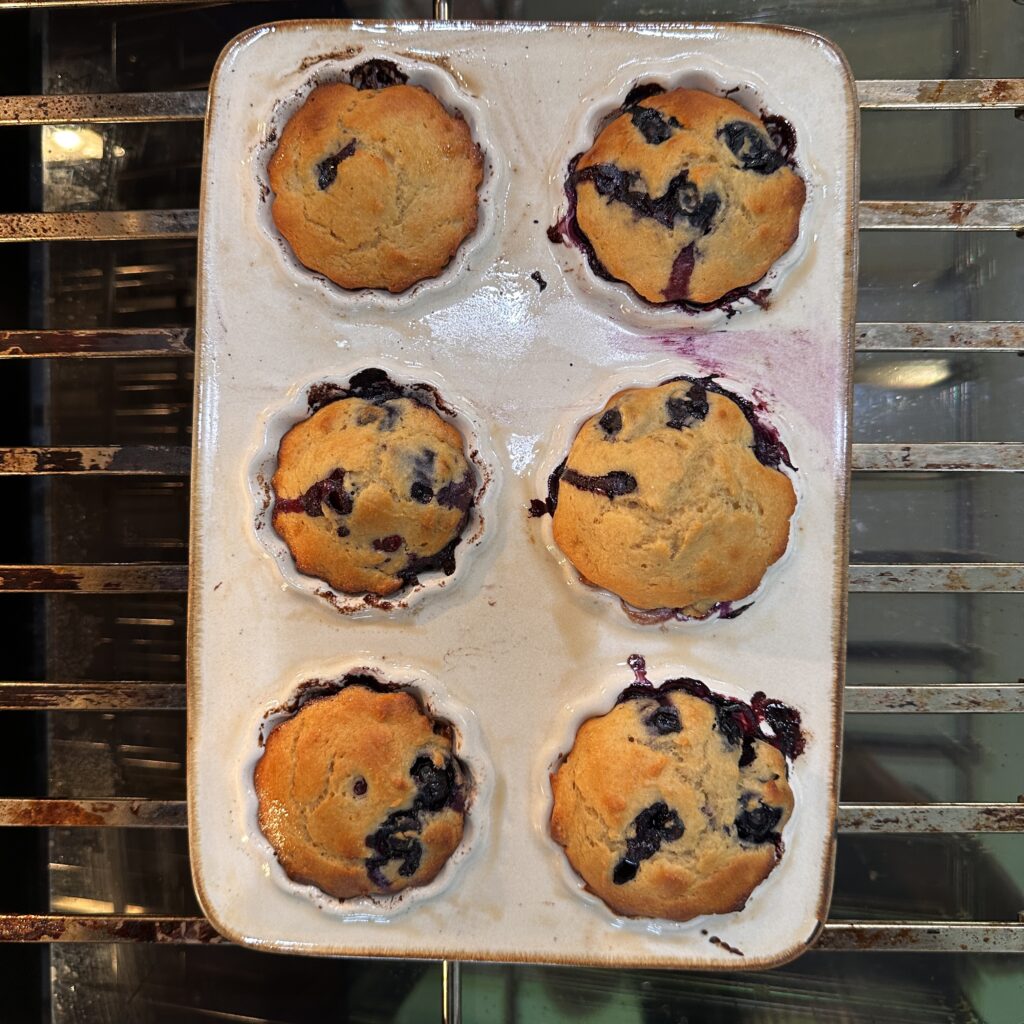
Lemon Blueberry Yogurt Muffins (with Kodiak Mix)
These are easy, protein-packed muffins I threw together for breakfast this week. They take about 10 minutes to mix up and are great for busy mornings. My kids love them, and I like that they’re made with a few simple ingredients and a little extra protein.
I like to top mine with a dollop of extra Greek yogurt, drizzle some nut butter and top with extra berries to make them more filling.
Grocery List
- Kodiak Cakes Power Cakes Mix (buttermilk)
- Greek yogurt
- Eggs
- Maple syrup or honey
- Milk of choice (I use Fairlife 2%)
- Vanilla extract
- Lemon (1)
- Blueberries (fresh or frozen)
Serves
Makes 12-14 muffins depending on size of your muffin tin.
Why I Love This Recipe as a Dietitian
These muffins check all the boxes. They’re quick to make, have a good balance of carbs, protein, and fat, and the ingredients are easy to keep on hand. The Greek yogurt, eggs and Kodiak mix give them a protein boost, while the blueberries and lemon keep them fresh and not overly sweet. They also hold up well in lunchboxes for camp or as a snack between meals.
Ingredients:
- 2 cups Kodiak Buttermilk Power Cakes mix
- ¾ cup plain Greek yogurt
- ¼ cup maple syrup or honey
- 2 large eggs
- ¼ cup milk of choice
- Zest of 1 lemon
- Juice of ½ lemon (about 1–2 tablespoons)
- 1 teaspoon vanilla extract
- 1 cup fresh or frozen blueberries (don’t thaw if frozen)
Instructions:
- Preheat oven to 350°F (175°C). Line or grease a 12-cup muffin tin.
- In a large bowl, whisk together eggs, yogurt, milk, maple syrup, lemon zest, lemon juice, and vanilla extract.
- Add Kodiak mix and stir until just combined—do not overmix.
- Gently fold in blueberries.
- Divide batter evenly among muffin cups (they’ll be about ¾ full).
- Bake for 18–22 minutes, or until a toothpick inserted in the center comes out clean.
- Let cool for 5–10 minutes in the tin, then transfer to a wire rack.
Customization and Tips
- Use whatever fruit you have on hand—raspberries, chopped strawberries, or even small diced apples work great
- If your kids aren’t into lemon, leave out the zest and they won’t even notice
- Add a tablespoon of flaxseed or chia seeds for extra fiber
- Bake in mini muffin tins for toddler-friendly portions (check them around the 10-minute mark)
- Frozen blueberries work just as well—no need to thaw, just toss them in with a bit of the mix to prevent color bleed
Nutrition Information (per muffin)
Approximate values based on ingredients used:
- Calories: ~90
- Protein: ~10g
- Fat: ~3.5g
- Carbohydrates: ~16g
- Fiber: ~2g
- Sugar: ~4g
Great for breakfast on its own or paired with something like eggs or a smoothie for a more filling meal. I like to top mine with an extra dollop of Greek yogurt, drizzle some nut butter and add fresh berries.
Storage Tips
- Store in an airtight container in the fridge for up to 5 days
- They also freeze well—just place them in a single layer to freeze, then transfer to a bag or container
- To reheat, microwave for about 30 seconds or pop into the toaster oven until warmed through
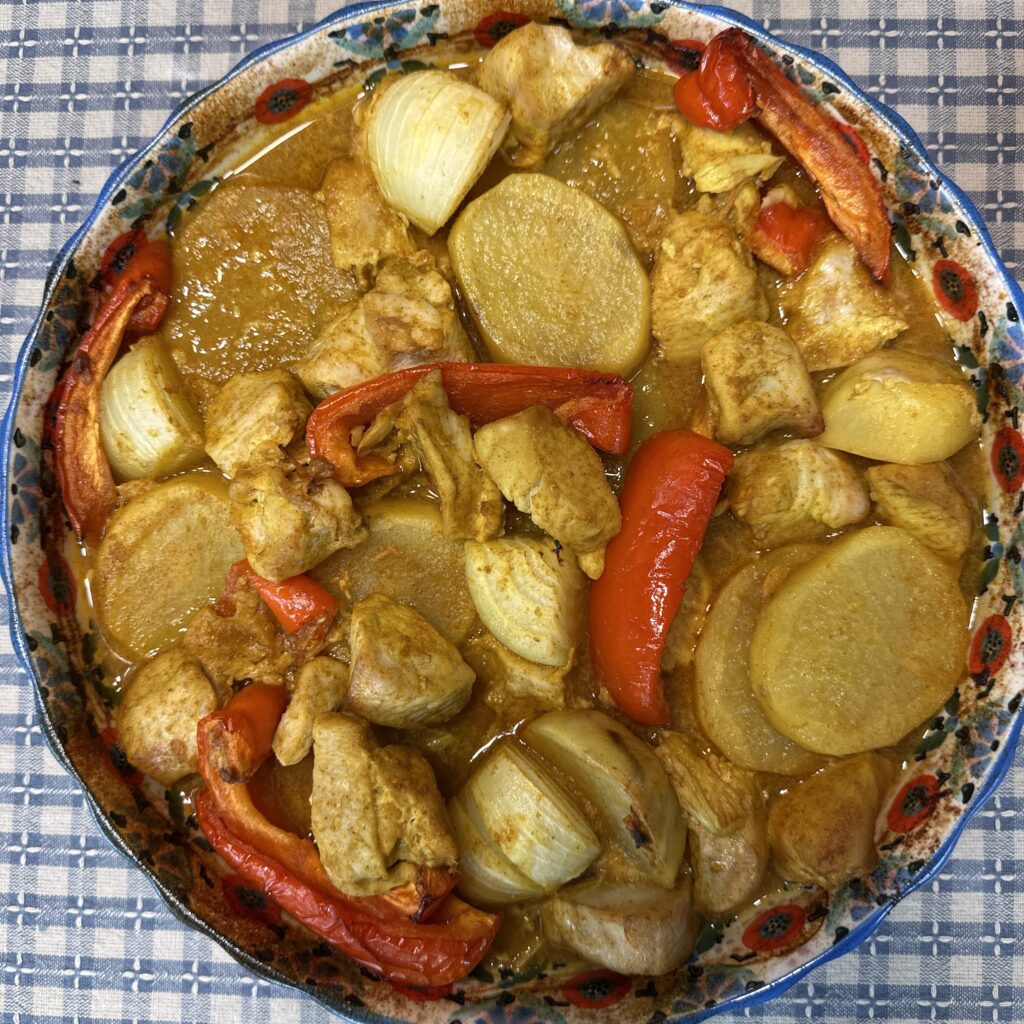
Lemony Roasted Chicken with Potatoes
Ooop another lemony recipe. I love recipes with lemon in the summer I guess (AND I just made a lemon blueberry cake Saturday night😅).
Okay so this is one of those easy, no-fuss meals that also checks all the boxes: minimal cleanup, flavorful, and makes great leftovers. Everything goes into one pan and roasts until the chicken is tender and the potatoes soak up all the lemony, garlicky goodness.
Grocery List
- Chicken breast or chicken thighs (about 3 pounds)
- Potatoes
- Chicken stock
- Lemons
- Extra virgin olive oil
- Garlic
- Salt
- Paprika
- Cumin
- Turmeric
Serves
About 6
Ingredients
- 3 pounds chicken breast or chicken thighs
- 3 potatoes, sliced (skin on or off)
- 1 cup chicken stock
- 1/2 cup freshly squeezed lemon juice
- 1/4 cup extra virgin olive oil
- 10 to 12 cloves garlic, minced
- 1 teaspoon salt (to mix with the garlic)
- 2 teaspoons paprika
- 2 teaspoons salt
- 1 teaspoon cumin
- 1/4 teaspoon turmeric
Instructions
- Preheat your oven to 350°F and place the rack in the center.
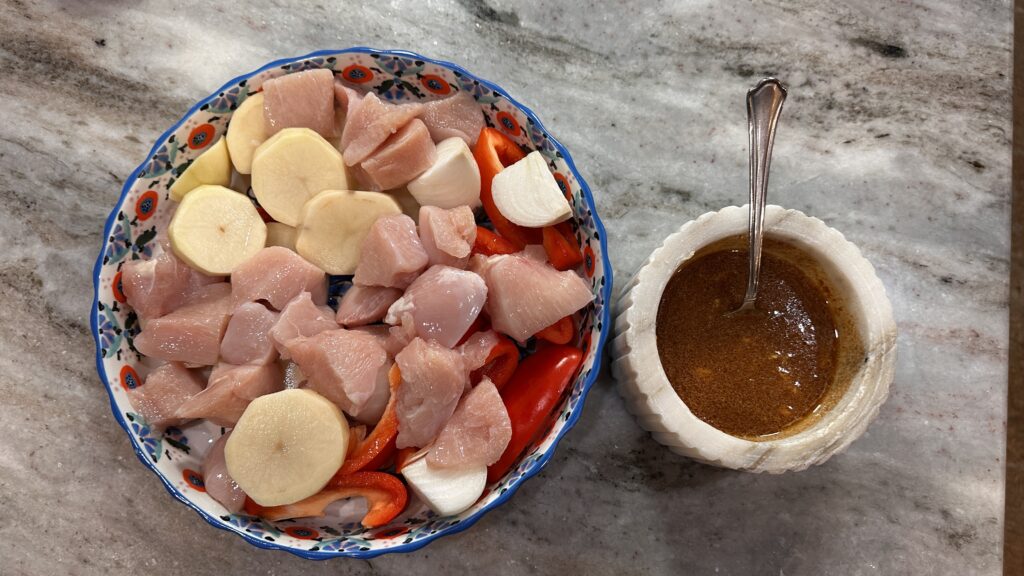
- In a bowl, add your minced garlic, lemon juice, olive oil, chicken stock, paprika, cumin, turmeric, and salt. Whisk together.
- In a 10×15 inch baking pan, arrange the sliced potatoes in an even layer. Place the chicken pieces over the top.
- Pour the lemony mixture evenly over the chicken and potatoes. Use your hands or a spoon to coat everything well.
- Cover the pan with foil and bake for about 1 hour.
- Remove the foil and continue baking uncovered for another 20–30 minutes, or until the chicken is golden and fully cooked through and the potatoes are tender.
- Optional: broil for the last few minutes to crisp things up slightly, but watch closely so it doesn’t burn.
Why I Love This Recipe as a Dietitian
This is a balanced meal that doesn’t require extra sides if you don’t want them—protein from the chicken, carbs and fiber from the potatoes, and healthy fat from the olive oil. The lemon adds brightness without needing a heavy sauce, and everything roasts together in one pan, so there’s less to clean. It’s a great recipe to batch-cook for busy weeks.
Customization and Tips
- Use a mix of chicken thighs and breasts for flavor and variety
- Sweet potatoes work great in place of regular potatoes
- Add vegetables like carrots or zucchini in the last 30–40 minutes of baking
- If using boneless chicken, reduce the cook time slightly—check around 1 hour total
- You can make the marinade ahead and store in the fridge for up to 24 hours
Storage
- Store leftovers in an airtight container in the fridge for up to 4 days.
- Reheat in the oven or microwave until warm.
- This dish also freezes well—just cool completely before freezing and thaw overnight in the fridge before reheating.
Nutrition Information (per serving)
Approximate values, based on 6 servings using a mix of thighs and breast:
- Calories: ~350–400
- Protein: ~30g
- Fat: ~18g
- Carbohydrates: ~20g
- Fiber: ~2g
- Sodium: ~600mg
Lentils and Rice (Lebanese Mujadara)
Mujadara is a simple Middle Eastern dish made with lentils, rice, and caramelized onions (this is optional). It’s vegan, gluten-free, made with just a few pantry staples, and very filling.
My kids love this, but do not love the onion I add on top so I usually just keep it separate. So if your kids are picky I would omit the caramelized onion (or you can just keep them separate and add them for yourself). But this recipe is one of my favorites to make because of how simple and delicious it is. We love to eat it with a yogurt cucumber salad and goes well with any green salad.
Makes the perfect fiber-rich lunch or dinner option during the week.

Grocery List
- Brown lentils
- Long grain or basmati white rice
- Yellow onions (2; julienned)
- Olive oil
- Salt
- Cumin
- Water
Serves
8
Ingredients
- 2 cups brown lentils, rinsed and drained
- 1 cup long grain or basmati white rice, rinsed
- 6 cups water
- 2 large yellow onions, thinly sliced or julienned
- ½ cup olive oil
- 1 teaspoon salt
- 2 teaspoons cumin
Instructions
- Heat olive oil in a large pan over high heat. Add the sliced onions and cook, stirring often, until deeply browned and crisp around the edges—about 20 minutes. Use a slotted spoon to transfer them to a plate lined with paper towels. Reserve the cooking oil.
- Meanwhile, in a separate pot, combine the lentils and water. Bring to a boil, then reduce heat to medium-low, cover, and cook for 15 minutes.
- Add the rinsed rice to the pot with the lentils along with the salt and cumin. Stir once, then cover and cook undisturbed for 15 minutes more.
- Remove the pot from heat and let it rest, covered, for 5 more minutes. Fluff with a fork to combine.
- Drizzle the reserved onion oil over the top, then add the crispy onions before serving (even though this step is optional, it does add lots of flavor to the dish).
Why I Love This Recipe as a Dietitian
This recipe is plant-based, high in fiber and iron, and balanced with complex carbs and protein—especially helpful for meatless meals during the week. The onions add a ton of flavor, and it’s one of those dishes that gets better as it sits. Enjoy with a cucumber yogurt salad or any simple salad.
Customization and Tips
- You can swap brown lentils for green lentils
- White rice can be replaced with brown rice or even bulgur—just adjust the cooking time and water as needed
- Cook the onions in advance and keep them in the fridge to save time on prep
- Pairs well with a side of cucumber yogurt or a simple salad
Storage
Store in an airtight container in the fridge for up to 4–5 days.
Nutrition Information (per serving)
- Calories: 386
- Protein: 14g
- Carbohydrates: 50g
- Fiber: 15g
- Fat: 14g
- Saturated fat: 2g
- Sodium: 13mg
- Iron: 4mg
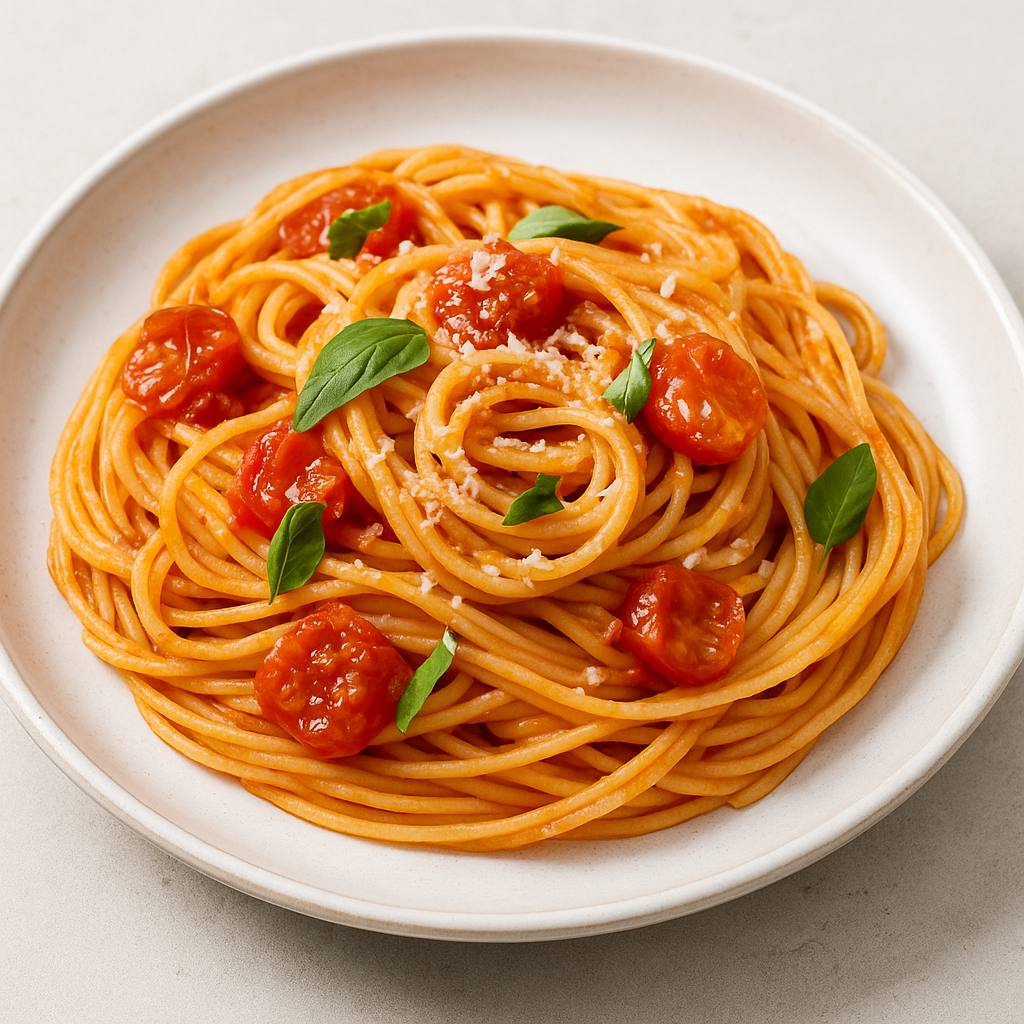
Spaghetti al Pomodoro
This is a simple tomato pasta that’s always a hit with my kids. I used Barilla Protein+ spaghetti for some added protein, and made the sauce with fresh cherry tomatoes, which gives it a slightly sweeter, fresher flavor. It’s easy to throw together and tastes even better the next day.
Grocery List
- Protein spaghetti (Barilla Protein+ or similar)
- Extra virgin olive oil
- Garlic
- Cherry tomatoes or canned whole peeled tomatoes
- Sun-dried tomatoes (optional)
- Salt
- Fresh basil
- Parmesan cheese (optional)
Serves
6
Ingredients
- 1 pound protein spaghetti
- 6 tablespoons extra virgin olive oil
- 3 garlic cloves
- 3 cups cherry tomatoes, halved
- 2 tbsp sun-dried tomatoes
- Salt, to taste
- 1 basil branch or small handful of fresh basil leaves
- Freshly grated Parmesan cheese, for serving (optional)
Instructions
- Cook the pasta:
Bring a large pot of salted water to a boil. Add the protein spaghetti and cook until al dente. Before draining, reserve 1/2 to 1 cup of pasta water. Drain the pasta and set aside. - Start the sauce:
While the pasta cooks, heat the olive oil in a large skillet over medium heat. Add the garlic cloves and sauté for 1–2 minutes until golden and fragrant. Remove the garlic with a slotted spoon and set aside, leaving the infused oil in the pan. - Cook the tomatoes:
Add the halved cherry tomatoes to the pan with a pinch of salt. Cook for about 5–7 minutes, stirring occasionally, until the tomatoes soften and begin to break down and caramelize. - Add sun-dried tomatoes and garlic:
Mash the sautéed garlic with the back of a spoon or fork. Stir it back into the pan along with the sun-dried tomatoes. Cook for another 2–3 minutes to blend the flavors. - Add basil and simmer:
Toss in the fresh basil and pour in about 1/4 to 1/2 cup of the reserved pasta water. Simmer the sauce for 10–15 minutes, stirring occasionally, until it thickens slightly and the flavors come together. - Combine with pasta:
Add the cooked pasta to the skillet and toss well to coat. Add more reserved pasta water if needed to help the sauce cling to the noodles. - Serve:
Plate the pasta and top with freshly grated Parmesan, if using. Serve warm.
Why I Love This Recipe as a Dietitian
Fresh cherry tomatoes give this sauce a natural sweetness without needing any added sugar. Using Barilla Protein+ pasta adds fiber and protein, which makes it a more balanced meal—especially good for kids or anyone trying to stay full longer without adding meat.
Customization and Tips
- If your tomatoes aren’t super ripe, add a splash of balsamic vinegar or a pinch of sugar to balance the flavor.
- Stir in some fresh spinach or arugula at the end for extra greens.
- You can blend the sauce if your kids prefer a smoother texture.
- Swap in any pasta shape you have—penne or fusilli work just as well.
Storage
- Store leftovers in an airtight container in the fridge for up to 4 days
- Reheat in a pan with a splash of olive oil or water to loosen the sauce
Nutrition Information (per serving)
Approximate, based on 6 servings using Protein+ pasta:
- Calories: ~375
- Protein: ~23g
- Fat: ~7g
- Carbohydrates: ~58g
- Fiber: ~7g
- Sodium: ~250mg
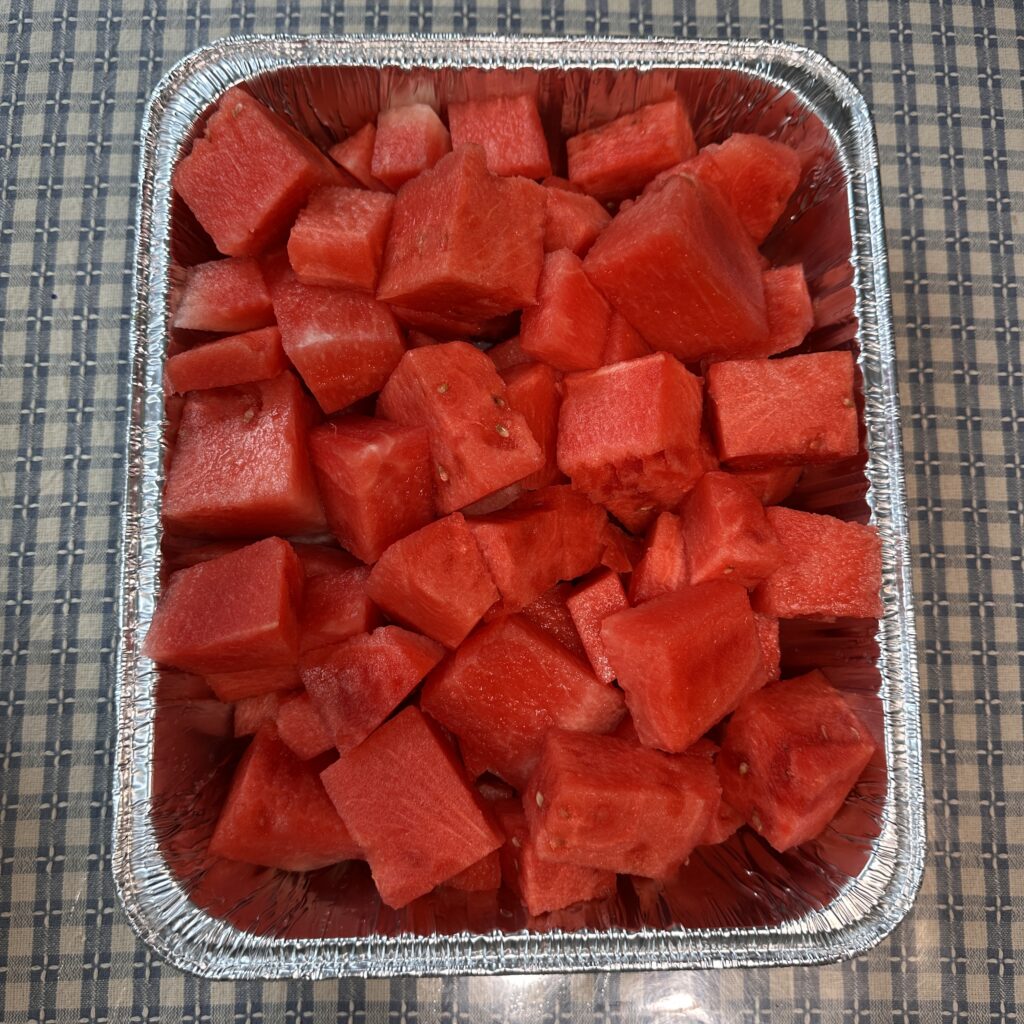
Bonus: Prep Your Fruit So You Actually Eat It
One small thing that makes a big difference during the week is taking a few extra minutes to prep the fruit that needs it. We love watermelon, but let’s be honest—if it’s just sitting there uncut, it usually gets ignored. So I always take the time to slice it up and store it in a container in the fridge. It’s ready to grab, and everyone’s way more likely to eat it.
Same goes for pineapple, cantaloupe, etc. Just wash, cut, and store in clear containers so it’s visible and easy to snack on. If it’s ready to go, you’re way more likely to reach for it instead of something else.
Wrap-Up
That’s it for this week’s meal prep—nothing fancy, just a few solid meals that make the week feel a little easier. Everything I made this week is kid-approved and family-friendly, and it goes by pretty quick if you have the groceries ready to go.
As always, take what works for you and skip the rest. Even prepping one or two things ahead can take a lot of pressure off your weekdays. Let me know what you’re making this week, and if you try any of these recipes, tag me—I love seeing them in your kitchen.
See you next Sunday!!
xx Ayat
Can you share links to cooking products such as your mortar and pestle and muffin tray?
Hi! Everything that can be linked is always under the “Kitchen Tools/ Equipment/ Containers I used” section towards the top of the blog post 🙂