
Hi friends!
I am SO excited because the 2026 Mom Planner officially launches this Tuesday, September 9th at 10 AM EST!! 🎉 I’ve been so busy behind the scenes getting everything ready for launch day, and I cannot wait for you to finally get your hands on it. It is so gorgeous. The cover is beyond beautiful and chic and you are going to love!!!
If you haven’t already, make sure you’re on the email list so you can get early access before anyone else.
This year is extra exciting because we’re offering international shipping for the very first time! 🌍 Last year, the planner sold out so quickly, and I know so many of you missed out—so if you want to be one of the first to snag yours, the email list is where you want to be.
This isn’t just another planner—it’s the tool that’s going to help you stay on top of your family’s schedule, your goals, your meal planning, self care, grocery list and so much more. Imagine heading into a new week with less chaos, more clarity, and space to prioritize both your family and yourself. That’s exactly what I designed this planner to do. If you’ve ever felt like you’re juggling too many things, this will give you the structure and balance you’ve been looking for. Check out all of the inner pages here and what’s been updated from last year’s version.

And speaking of balance—let’s talk meal prep. One of the ways I use my Mom Planner every single week is by planning out our meals ahead of time. Having a plan (and some food prepped!) makes the week run so much smoother. It saves time, reduces stress, and honestly helps me stick to healthier choices. I love that I can jot everything down in the weekly spread, from dinners to grocery lists, and then actually see it all come together when Sunday prep is done.
Here’s what I prepped for this week:
- Baked Falafel
- Stuffed Peppers
- Protein Pumpkin Loaf
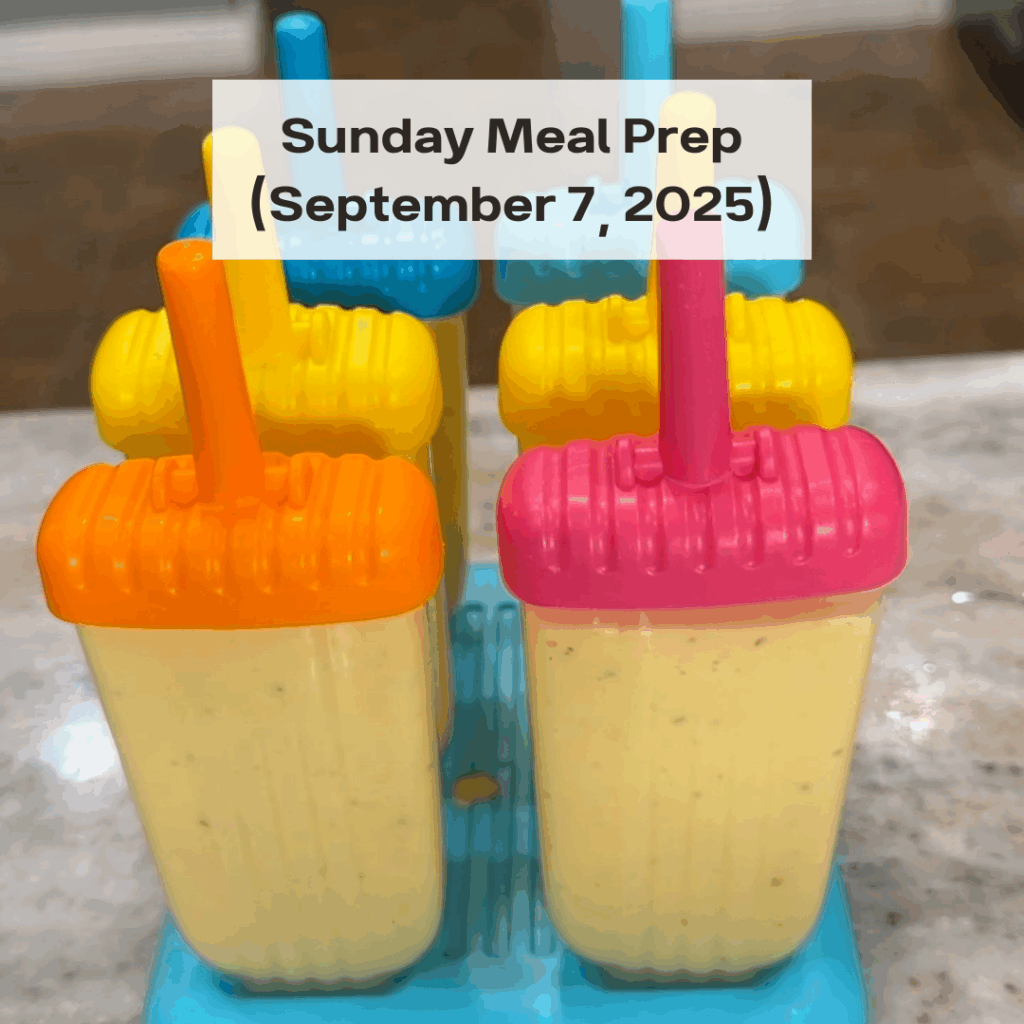
- Homemade Peaches & Cream Popsicles
Kitchen Tools/ Equipment/ Containers I used:
- 2026 planner (launching Tuesday September 9 at 10 AM EST)
- Nonstick Loaf Pan
- Ceramic Square Baking Dish (similar)
- Large Blue Pan
- Chef’s knife
- Wood cutting board
- Food processor
- Carbon Steel Griddle
- Stainless steel measuring spoons
- high-speed blender
- Popsicle molds
Baked Falafel
You guys, after going back through the photos on my phone, I realized none of my pictures saved! So, so upset so I have to share screenshots from the videos I took. I have a video of me eating these baked falafel for 5 minutes straight but not ONE picture!!
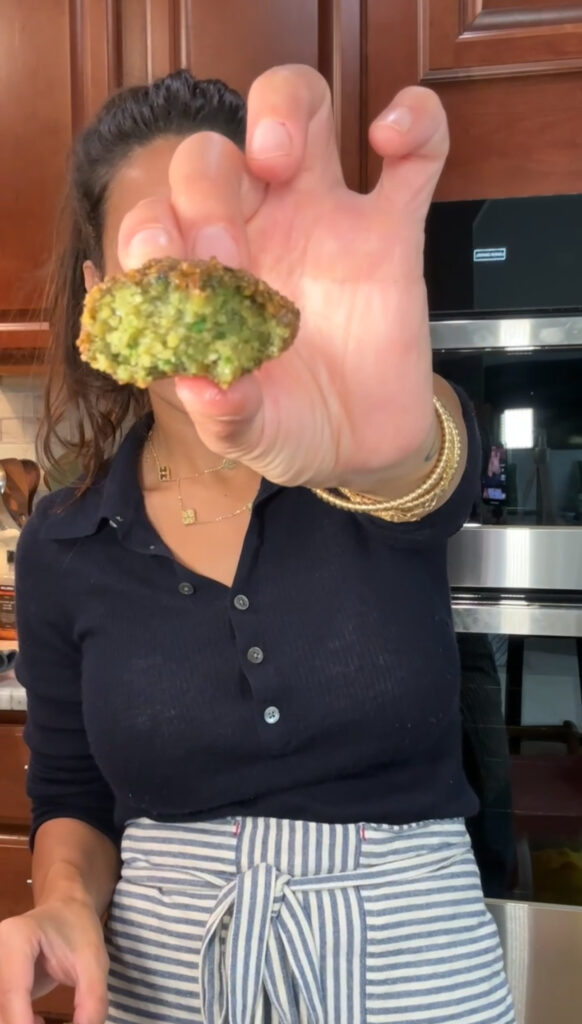
Falafel is traditionally deep-fried—crispy on the outside, fluffy inside, and so satisfying. This baked version is a little lighter, easier to make at home, and still absolutely delicious. While the texture isn’t exactly the same as frying, it’s packed with herbs, spices, and all that chickpea goodness. Perfect in a pita, on top of a salad, or served with tahini sauce and veggies.
Grocery List
- Dried chickpeas (must be soaked, not canned)
- Onion
- Garlic
- Fresh parsley
- Fresh cilantro
- Olive oil
- Ground cumin + ground coriander
- Salt + black pepper
- Baking soda + lemon juice (activation step for fluffiness)
- Baking powder
- Water
Serves
About 15 falafel patties
Ingredients
- ¼ cup + 1 tablespoon extra-virgin olive oil, divided
- 1 cup dried (uncooked/raw) chickpeas, rinsed and soaked 4–24 hours in the refrigerator
- 4 cups water (for soaking)
- ½ cup roughly chopped onion
- 4 cloves garlic, quartered
- ½ bunch fresh parsley (mostly leaves, some stems ok)
- ½ bunch fresh cilantro (mostly leaves, some stems ok)
- 1 ½ teaspoons salt
- ½ teaspoon freshly ground black pepper
- 1 tablespoon ground cumin
- 1 teaspoon ground coriander
- 1 teaspoon baking powder
- 1 teaspoon baking soda
- 1 tablespoon lemon juice
- ¼ cup water (for mixing at the end)
Instructions
- Before you start: make sure to soak your dried chickpeas in plenty of water for at least 4 hours, but ideally overnight (8–24 hours) for the best texture.
- Preheat oven to 375°F. Coat a large rimmed baking sheet with ¼ cup olive oil.
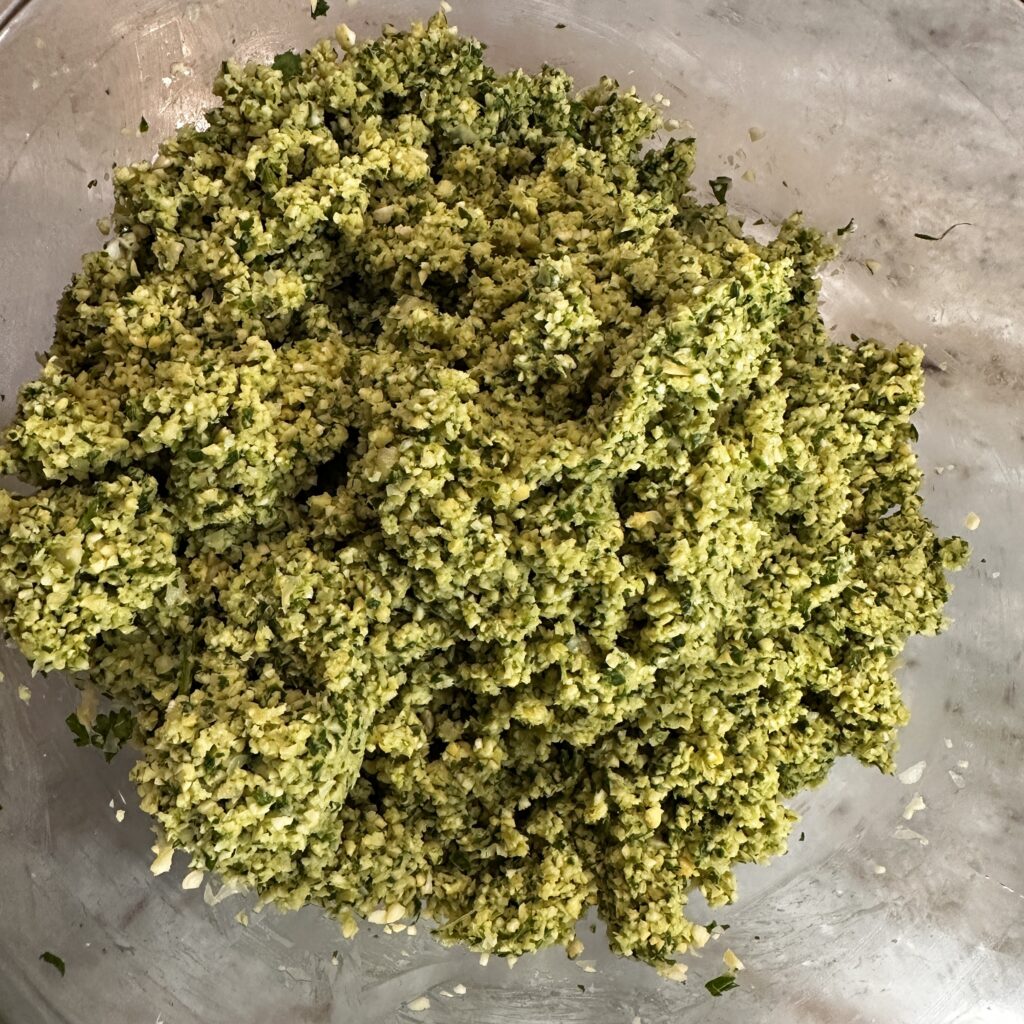
- Drain the soaked chickpeas. In a food processor, combine chickpeas, onion, garlic, parsley, cilantro, salt, pepper, cumin, coriander, baking powder, and 1 tablespoon olive oil. Process until mostly smooth, about 1 minute.
- Transfer mixture to a large bowl. Add baking soda + lemon juice (this activates the baking soda for a fluffier falafel). Pour in ¼ cup water and mix everything by hand until well incorporated.
- Scoop out about 2 tablespoons at a time and shape into patties about 2 inches wide and ½ inch thick. Place on the oiled baking sheet.
- Bake 25–30 minutes, flipping halfway, until deeply golden on both sides.
- Serve warm with pita, hummus, tahini sauce, or over a salad.
Why I Love This Recipe as a Dietitian
Falafel is a plant-based protein powerhouse. Chickpeas provide fiber, protein, and minerals like iron and magnesium, while parsley and cilantro add antioxidants and fresh flavor. Baking instead of frying reduces the oil content but still delivers that comforting falafel flavor.
Customization & Tips
- Add a pinch of cayenne or red pepper flakes for heat.
- Double the herbs if you like a brighter, greener falafel.
- If you prefer crispy edges, let the falafel cool slightly before serving—they firm up as they sit.
Nutrition Info (per falafel)
- Calories: ~85
- Protein: 3 g
- Fat: 4.5 g
- Carbohydrates: 8 g
- Fiber: 2 g
- Sugar: <1 g
(Varies slightly depending on herb amounts and exact patty size.)
Storage & Reheating
- Fridge: Store in an airtight container up to 4 days.
- Freezer: Freeze in a single layer, then transfer to a bag. Keeps up to 3 months.
- Reheat: Bake at 350°F for 10 minutes, or air fry for 5–6 minutes until warmed and crisp.
Serving Ideas
- Tuck into warm pita with lettuce, tomato, cucumber, and tahini sauce
- Add to a grain bowl with quinoa, roasted veggies, and tzatziki
- Serve mezze-style with hummus, olives, and fresh flatbread
- Crumble over a big salad for a protein boost
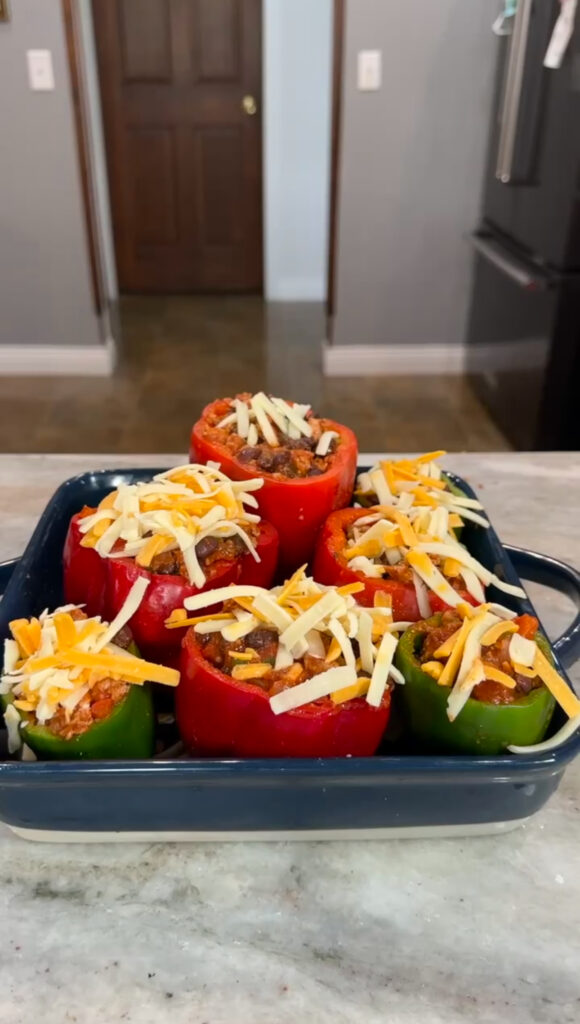
Cozy Stuffed Peppers
You know when the universe just hands you dinner plans? That’s exactly what happened when my SIL gifted me the prettiest red and green bell peppers.
Naturally, I had to turn them into stuffed peppers—warm, hearty, colorful, and the perfect way to use up what’s in season. This version is filled with a mix of ground chicken, black beans, cheese and just the right amount of spice.
Grocery List
- Bell peppers (red, yellow, or orange)
- Olive oil
- Onion
- Ground cumin + ground coriander
- Ground chicken or beef
- Garlic
- Canned diced tomatoes (drained) or tomato sauce
- Black beans
- Cooked white rice or quinoa (optional, I did not add this in but would add a source of fiber and carbs)
- Fresh cilantro or parsley
- Shredded cheddar cheese
Serves
8–10 peppers (about 6–7 cups of filling)
Ingredients
For the peppers:
- 8–10 medium bell peppers (red, yellow, or orange)
- 2 teaspoons salt
- ½ teaspoon ground black pepper
For the filling:
- 1 tablespoon olive oil
- 1 medium onion, chopped
- Reserved chopped pepper tops
- 1 teaspoon ground cumin
- 1 teaspoon ground coriander
- 1 teaspoon salt
- ½ teaspoon ground black pepper
- 1 lb ground beef or chicken
- 3 cloves garlic, minced
- 1 (15 oz) can diced tomatoes, juices drained
- 1 (15 oz) can black beans, drained and rinsed
- 1 cup cooked white rice or quinoa (optional)
- ½ cup fresh cilantro or parsley, chopped
- 1 cup shredded cheddar cheese
- 1 cup water
Instructions
- Preheat oven to 375°F.
- Slice the tops off the peppers, season the insides with salt + pepper, and place them upright in a large baking dish or cast iron pan. Chop up the tops (minus stems) for the filling.
- In a large pot, heat olive oil over medium. Add onion, chopped pepper tops, cumin, coriander, salt, and pepper. Cook 5–7 minutes until softened.
- Add the beef or chicken, breaking it up with a spoon. Cook until browned, 6–8 minutes.
- Stir in garlic and cook 30 seconds.
- Add tomatoes and black beans. Cover, bring to a boil, then reduce heat and simmer 3–4 minutes.
- Remove from heat. Stir in rice, if using, and fresh herbs. Taste and adjust seasoning.
- Divide filling among peppers. Top each with shredded cheddar.
- Pour 1 cup water into the bottom of the dish. Cover with foil and bake 50–55 minutes, until peppers are softened and filling is hot.
- Garnish with extra cilantro and serve warm.
Why I Love This Recipe as a Dietitian
Stuffed peppers hit that sweet spot of being hearty and balanced. You’ve got protein from beef/chicken and beans, fiber from veggies and rice, healthy fats from olive oil, and a dose of vitamins from the peppers themselves. It’s a complete meal that feels comforting but still nutrient-dense.
Customization & Tips
- Swap ground beef for ground turkey, chicken, or even crumbled tofu.
- Keep it vegetarian by skipping the meat and doubling the beans.
- Use quinoa instead of rice for more protein and fiber.
- Try pepper jack or mozzarella instead of cheddar for a flavor twist.
- Pro tip: wedge the peppers tightly together in the pan so they don’t tip over while baking.
Nutrition Info (per stuffed pepper, using 8 peppers, beef + rice version)
- Calories: ~330
- Protein: 21 g
- Fat: 14 g
- Carbs: 32 g
- Fiber: 6 g
- Sugar: 6 g
(Will vary with pepper size, rice vs. quinoa, and cheese amount.)
Storage & Reheating
- Fridge: Store in an airtight container for up to 4 days.
- Freezer: Wrap peppers individually or store in a freezer-safe dish. Freeze up to 3 months.
- Reheat (fridge): Bake at 350°F, covered, for 20–25 minutes.
- Reheat (frozen): Bake at 350°F, covered, for 30–35 minutes, or thaw overnight first for quicker reheating.
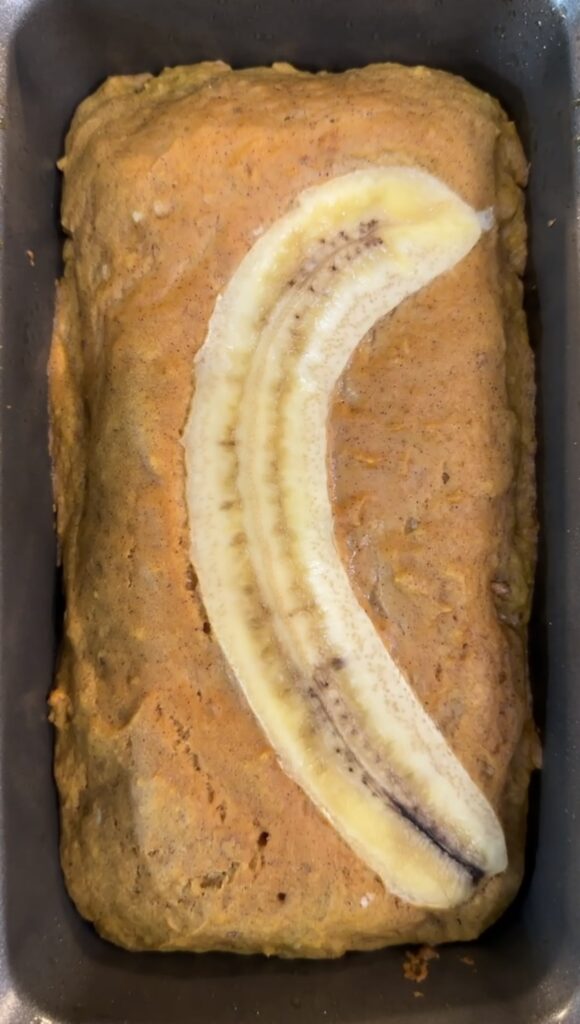
Healthier Pumpkin Loaf
I don’t know about where you live, but here in Michigan we’re definitely fully into fall weather. And nothing says cozy fall vibes quite like a warm slice of pumpkin bread with pumpkin spice.
This recipe is perfectly moist, lightly sweetened with honey or maple syrup, and full of seasonal flavors.
It’s one of my go-to bakes because it works just as well for breakfast with coffee as it does for an afternoon snack—or even dessert with a little nut butter spread on top.
Grocery List
- Extra-virgin olive oil
- Honey or maple syrup
- Eggs
- Pumpkin purée
- Milk of choice
- Pumpkin spice blend
- Baking soda
- Vanilla extract
- Salt
- White whole wheat flour (or regular whole wheat flour)
- Optional: walnuts/pecans, chocolate chips, raisins, or dried fruit
Serves
1 loaf (about 8 slices)
Ingredients
- ⅓ cup extra-virgin olive oil
- ½ cup honey or maple syrup
- 2 eggs
- 1 cup pumpkin purée
- ¼ cup milk of choice
- 1 ½ teaspoons pumpkin spice blend
- 1 teaspoon baking soda
- 1 teaspoon vanilla extract
- ½ teaspoon salt
- 1 ¾ cups white whole wheat flour (or regular whole wheat flour)
- Optional: ½ cup mix-ins (chopped walnuts, pecans, chocolate chips, raisins, or dried fruit)
Instructions
- Preheat oven to 325°F (165°C) and grease a 9×5-inch loaf pan.
- In a large bowl, whisk together the oil and honey until smooth. Add eggs and whisk until blended.
(If the oil solidifies from cold ingredients, rest the bowl in a warm place for a few minutes or microwave briefly for 10 seconds.) - Whisk in pumpkin purée, milk, pumpkin spice, baking soda, vanilla, and salt.
- Switch to a spoon and stir in flour until just combined. Fold in mix-ins, if using.
- Pour batter into prepared pan.
- Bake 55–60 minutes, until a toothpick comes out clean. Cool in the pan 10 minutes, then transfer to a rack for 20 minutes before slicing.
Why I Love This Recipe as a Dietitian
This pumpkin bread is made with wholesome ingredients—using olive oil for heart-healthy fats, whole wheat flour for extra fiber, and pumpkin purée for vitamin A. Sweetening with honey or maple syrup gives it a natural sweetness without being overly sugary. It’s a treat you can feel good about enjoying.
Customization & Tips
- Swap the flour for a gluten-free blend if needed.
- Make it dairy-free by using almond, oat, or soy milk.
- Add protein by mixing in a scoop of unflavored protein powder (you may need to add a splash more milk).
- For little ones, leave out the nuts and add mini chocolate chips instead.
Nutrition Info (per slice, 1/8 loaf, no mix-ins, made with maple syrup)
- Calories: ~210
- Protein: 4 g
- Fat: 9 g
- Carbohydrates: 30 g
- Fiber: 3 g
- Sugar: 13 g
(Nutrition will vary depending on mix-ins and milk choice.)
Storage & Reheating
- Room temperature: Store in an airtight container for up to 3 days.
- Fridge: Keep up to 1 week.
- Freezer: Wrap slices individually and freeze for up to 3 months. Reheat in the microwave for 20–30 seconds or toast for a warm, fresh-from-the-oven taste.
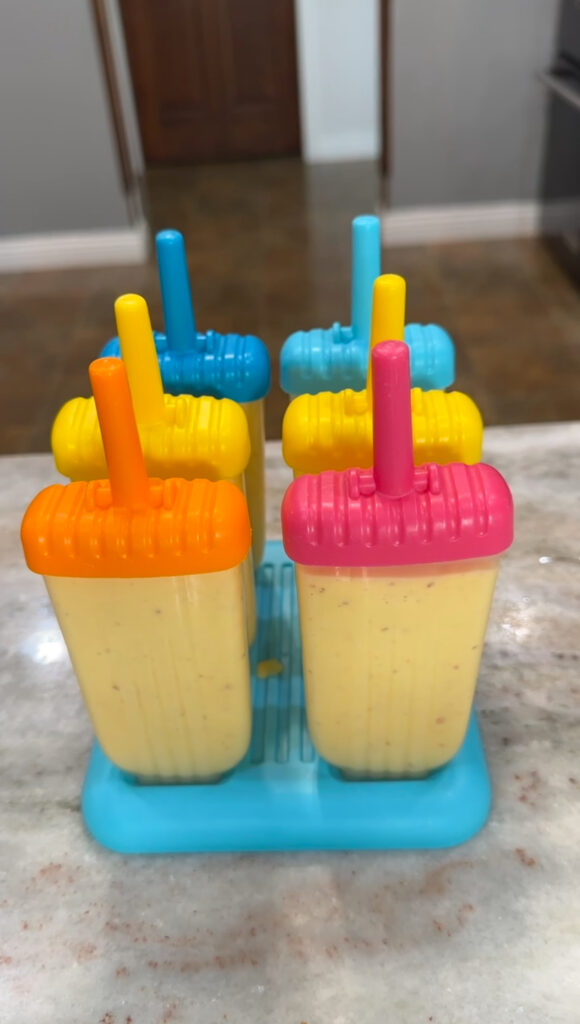
Homemade Peaches & Cream Popsicles
Even though cooler weather is here, I still have plenty of peaches to use up, and these popsicles are a fun way for the kids to sneak in some fiber and protein as a snack!
They’re creamy, refreshing, and perfectly sweet thanks to ripe peaches and a touch of maple syrup. With just a few simple ingredients blended together and poured into molds, they’re an easy, healthier treat that both kids and adults will love—no matter the weather.
Grocery List
- Fresh peaches
- Greek yogurt
- Maple syrup
Serves
6 popsicles
Ingredients
- 2 cups fresh peaches, sliced (about 3 medium peaches)
- 1 ½ cups plain Greek yogurt
- 3 tablespoons maple syrup (adjust to taste)
Instructions
- In a blender, combine peaches, Greek yogurt, and maple syrup. Blend until smooth and creamy.
- Taste and adjust sweetness if needed.
- Pour mixture evenly into 6 popsicle molds.
- Insert sticks and freeze at least 4 hours, or until completely solid.
- To release, run the mold under warm water for a few seconds and gently pull out.
Why I Love This Recipe as a Dietitian
These popsicles are a fun twist on dessert that still pack in protein from Greek yogurt, fiber from fresh peaches, and a natural sweetness from maple syrup instead of refined sugar. It’s a treat you can feel good about keeping stocked in the freezer.
Customization & Tips
- Add a splash of vanilla extract for an extra creamy flavor.
- Swirl in some granola before freezing for a “breakfast popsicle.”
- Use nectarines, plums, or berries if peaches aren’t in season.
- For kids, pour into mini molds for perfectly portioned treats.
Nutrition Info (per popsicle, 1/6 batch)
- Calories: ~90
- Protein: 5 g
- Fat: 1.5 g
- Carbohydrates: 14 g
- Fiber: 1 g
- Sugar: 11 g
Storage & Reheating
- Freezer: Keep popsicles in molds or transfer to a freezer bag. Best enjoyed within 2–3 weeks for peak flavor and texture.
- Reheating: None needed (just lick and enjoy!).
Serving Ideas
- Dip half in melted dark chocolate and refreeze for a decadent twist.
- Serve at a summer BBQ as a lighter dessert option.
- Pair with fresh peach slices and mint for a pretty presentation.
Thank you so much for posting these! I love all your recipes and have yet to try something that isn’t delicious and healthy!
Hi Ashlin!!
Thank you so much! 💛 I’m so happy to hear you’re enjoying the recipes—that honestly makes my day!